Add a new analysis tool
To add a new analysis tool, a standardised template has been introduced that already integrates important components such as multiprocessing and communication with Redis. It is only necessary to follow the steps described below to integrate a new analysis tool.
1. Copy Template
In the first step, the Template_Analysis_Tool folder is copied together with the files it contains and also stored in the jobs folder.

The copied folder and the files it contains are then renamed so that they can be clearly assigned to the new tool. The names should be changed as follows:
- Folder: Template_Analysis_Tool -> <new-tool>
- File: Dockerfile_tool -> Dockerfile_<new-tool>
- File: template_tool.py -> <new-tool>.py
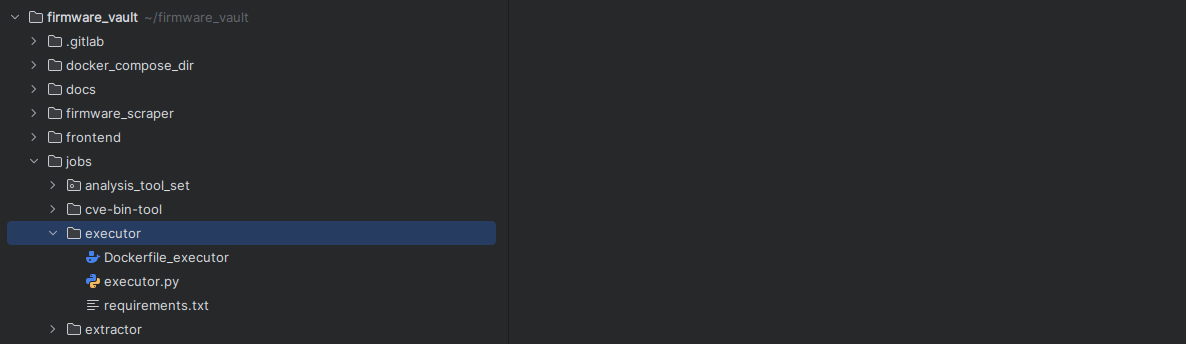
For example, if the template is used to add the new tool executor, the folder and the files will have the following names.
2. Modify Dockerfile
The Dockerfile and requirements.txt can then be adapted to the requirements of the new analysis tool. The TODOs contained in the template-Dockerfile serve as a guide, for example, to install additional tools via apt or to add further Python packages via the requirements.txt. In this step, additional wrapper scripts or configuration files required for the new analysis tool can also be added to the folder. The Dockerfile also specifies exactly (see TODOs) which files must be renamed to the names specified in the previous step.
 FROM python:3.11

# TODO [1] - Installation of additional tools via apt if these are required.

WORKDIR /app
# TODO [2] - Replace "<Template_Analysis_Tool>" with the name of the folder for the new analysis tool.
COPY <Template_Analysis_Tool>/requirements.txt requirements.txt
RUN pip install --upgrade pip
# TODO [3] - Add additional requirements if needed.
RUN pip install -r requirements.txt
RUN apt update


COPY analysis_tool_set/worker_manager.py /app/worker_manager.py
COPY analysis_tool_set/tool_registry.py /app/tool_registry.py
COPY DBConnector.py /app/DBConnector.py
# TODO [4] Replace folder and script name with the name of the folder/script for the new analysis tool.
COPY <Template_Analysis_Tool>/<template_tool.py> /app/<template_tool.py>

# TODO [5] Replace script name "<template_tool.py>" with the name of the script for the new analysis tool.
CMD ["python3", "/app/<template_tool.py>"]
3. Implementation of the function for executing the tool
Once the Dockerfile has been adapted, you can continue with the actual script for running the analysis tool. Here too, the TODOs stored in the template-script served as a guide. The implementation of the run_tool() function is the central component and is responsible for the execution of the tool. To get a better understanding of how this function can be implemented, it is worth taking a look at the analysis tools that have already been implemented. All other components such as communication with Redis and multiprocessing are already implemented by the WorkerManager class, so that no additional adjustments are required at this point.
The run_tool() function takes three parameters, which are briefly explained below:
- image_id : ID of the image to be processed.
- path : The file path to the firmware image to be analyzed.
- output_path : The file path to the output file in which the results of the tool's output are saved.
the @tool decorator registers the tool by inserting the tool and its dependencies (if any) into the database. These tools are then visible in the frontend. When a new job is triggered the executor reads the dependencies of the selected tool from the database.
import redis
import json
import subprocess
from worker_manager import WorkerManager
# TODO [1] - Add required Python packages for the new analysis tool.

# TODO [2] - Replace <tool> with the actual name of the new tool, the name must be identical to the name in the frontend (case sensitive!).
tool_name : str = "<tool>"

@tool(name=tool_name, dependencies=["<tool>"])  # or `@tool(name=<tool>)` if it has no dependencies
def handle_task(payload: dict, redis_connection: redis.Redis) -> None:

    print(f"[{tool_name}] Processing: {payload}", flush=True)
    ## Sample Input: [cve-bin-tool] Processing: {"job": 20, "tool": "cve-bin-tool", "image_id": 6, "image_path": "/amos_project/downloads/AVM/6_fritz.powerline_1210_cm9_2130_02_tr069_1/6_fritz.powerline_1210_cm9_2130_02_tr069_1.image", "task": 1, "output_path": "/tasks/job_20/execution_1/image_6"}

    output_path = f'{payload["output_path"]}/{tool}_output.txt'
    success: str = run_tool(payload["image_id"], payload["image_path"], output_path)

    return_payload = {
        "job": payload["job"],
        "tool": payload["tool"],
        "image_id": payload["image_id"],
        "image_path": payload["image_path"],
        "task": payload["task"],
        "output_path": payload["output_path"],
        "status": success
    }
    redis_connection.rpush("queue_return", json.dumps(return_payload))


def run_tool(image_id: str, path: str, output_path: str) -> str:
    # TODO [3] - The logic for the particular analysis tool is implemented in this function.
    # The actual tool is called using subprocess.run(). Examples of this can be found in the folders for "cve-bin-tool" (cve-bin-tool.py) or "extractor" (extractor.py).
    pass
    # TODO [4] - Possible return values "success", "failure" depending on whether the tool was executed successfully or not.


if __name__ == "__main__":
    manager = WorkerManager(
        task_handler=handle_task,
        redis_host="redis",
        redis_port=6379,
        queue=[f"queue_{tool_name}"],
        worker_count=2
    )
    manager.start()
4. Add new tool to the Docker Compose file
Once all the necessary implementations and adjustments have been made for the new tool, it can then be added to the Docker Compose files in the /firmware_vault/docker_compose_dir directory. An entry for a new tool with the name new-tool could look like this:
  new-tool:
    container_name: new-tool
    build:
      context: ../jobs
      dockerfile: new-tool/Dockerfile_new-tool
    volumes:
      - executor:/tasks
      - scraper_downloads:/firmware_scraper/downloads/
    environment:
      - DB_CONTAINER=${DATABASE_DB_CONTAINER}
      - MYSQL_USER=${DATABASE_USER}
      - MYSQL_PASSWORD=${DATABASE_PASSWORD}
      - DB_SCHEMA=${DATABASE_SCHEMA}
      - DB_PORT=${DATABASE_PORT}
    networks:
      - firmware_network
    restart: unless-stopped
    depends_on:
      redis:
        condition: service_healthy
Once the four points mentioned above have been carried out correctly, the new analysis tool should have been successfully integrated into Firmware_Vault.